Our hands say a lot about us—they’re one of the first things people notice when we shake hands or wave hello. That’s why keeping them neat and polished, especially our nails, can make a big impression.
Now, think about meeting someone and they catch a glimpse of dirty or chipped nails. Not exactly the kind of attention you want, right? While regular salon manicures can be time-consuming and pricey, there’s a lot you can do at home to get healthy, polished nails that look like they were done by a pro. Here’s your step-by-step guide to mastering the art of applying nail polish.
What You’ll Need:
- Nail polish remover
- Nail clippers
- Nail file
- Cuticle trimmer
- Cotton balls or pads
- A base coat
- Your favorite nail polish
- A top coat
Step-by-Step: How to Apply Nail Polish Perfectly
Step 1: Prep Your Nails
Start by removing any old polish with a remover and cotton pad. Be gentle to avoid weakening your nails. Next, soak your hands in warm water or do this after a shower to make cuticle trimming easier. Gently push back or trim the excess cuticle, clip your nails to the desired length, and file them into shape. Lastly, wipe your nails one more time with a little remover to eliminate any natural oils—this helps the polish adhere better.
Step 2: Apply a Base Coat
A thin base coat is a must. It not only makes your polish last longer, but it also keeps pigmented colors from staining your nails. White or neutral base coats can also make colors pop more vibrantly. Keep it light—thicker coats take longer to dry and may end up smudging.
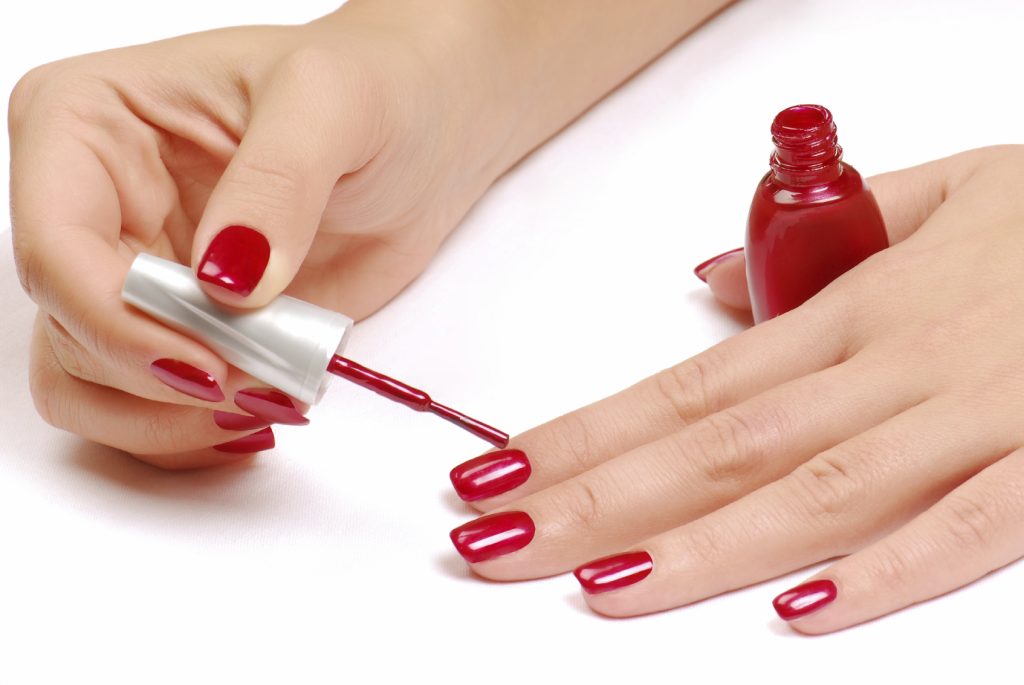
Step 3: Use the Three-Stroke Rule
When applying color, less is more. Dip the brush and place a small dot of polish near the base of your nail. Swipe once down the center, then once on each side. That’s it—just three strokes. This technique gives you a clean, even coat without making a mess.
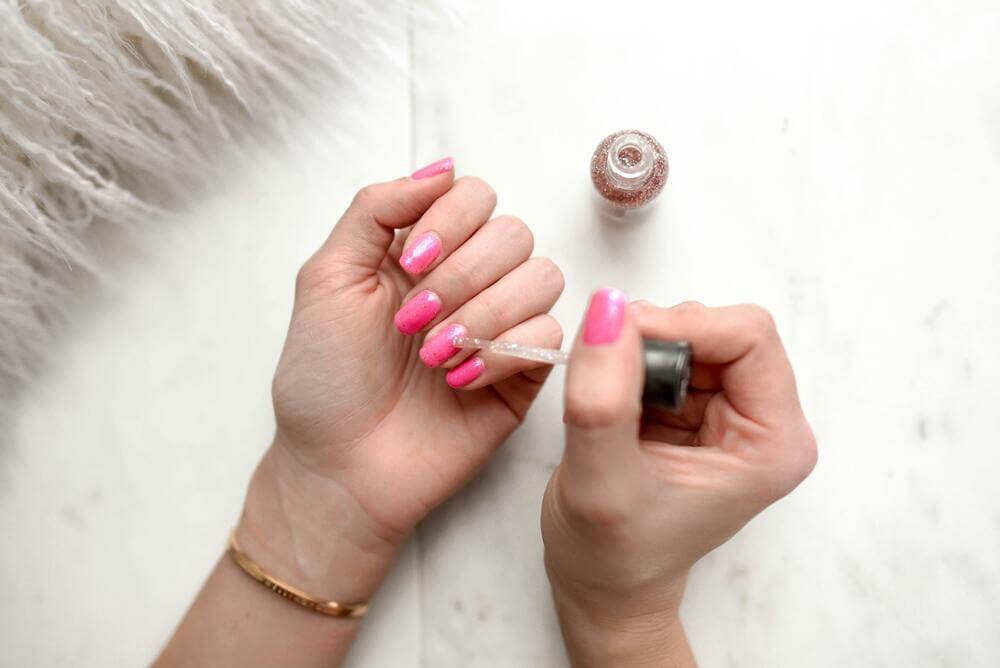
Step 4: Build with Thin Layers
Depending on your polish’s opacity, you might need two or three coats. If you’re working with a sheer color, build gradually with thin layers, letting each one dry completely before adding another. This helps prevent smudges, bubbles, and uneven texture.
Step 5: Lock It in with a Top Coat
Once your color is set, finish with a clear top coat to add shine and protect your polish from chipping. Don’t forget to brush along the tips of your nails, too—it helps seal everything in and gives your manicure extra staying power.
Step 6: Clean Up the Edges
For a neat finish, dip a cotton swab or small brush in nail polish remover and clean up any polish that strayed outside the lines. Be gentle to avoid ruining your hard work.
Tips to Dry Your Nails Faster
- Cold Water Trick: Fill a bowl with ice water and dip your freshly painted nails in for a few minutes. If water slides off smoothly, they’re dry.
- Hair Dryer: Use the cool setting and blow gently in circles for a couple of minutes. Avoid holding it too close.
- Hairspray or Cooking Oil: Spritz lightly over nails from about 12 inches away, wait a few minutes, and rinse with cool water.
- Drying Drops or Sprays: These speed up drying and often include nourishing ingredients for nails and cuticles.
- Quick-Dry Top Coats: These not only help dry your polish quickly but also give extra gloss and chip resistance.
Nail Painting Hacks and Helpful Tips
- Apply petroleum jelly around your nails before painting to catch any slips—wipe it off after for clean edges.
- Try using two base coats: one halfway up the nail, then a second full coat. It helps prevent early chipping.
- Use white nail polish under lighter colors to help them appear truer and more vibrant.
- For easy DIY nail art, try stickers or tape for French tips and two-tone styles.
- Mix eyeshadow with clear polish to create your own custom nail color.
Best Nail Polish Colors for Every Skin Tone
Choosing the right shade can really make your nails pop:
- Fair Skin: Soft pinks, mint greens, and baby blues work beautifully with cool undertones.
- Medium Skin: Coral, hot pink, white with blue undertones, and navy shades look fresh and flattering.
- Dark Skin: Vibrant yellows, bold greens, toffee browns, sky blues, and powdery pinks highlight your hands perfectly.
- Pro Tip: Burgundy is universally flattering and a great go-to for any skin tone.
Final Thoughts
With the right tools, a little practice, and some of these insider tips, anyone can achieve gorgeous, salon-worthy nails at home. Whether you’re heading to an event or just love the polished look, knowing how to apply nail polish correctly is a skill worth mastering.